Want to record a new vehicle purchase in QuickBooks, but don’t know, how to do it? Don’t worry, you can easily do this without the help of an accountant, or ProAdvisor. Here today, in this article, you will know how to record a new vehicle purchase in QuickBooks, and also the setup, and tracking process.
How to Record a Vehicle Purchase in QuickBooks
Here we have described the procedure, to record a vehicle purchase in QuickBooks. Just follow all the steps carefully, so that, you can easily finish your payroll performance smartly.
Add a New Vehicle as Fixed Asset
Step 1: Create a Fixed Asset Account for Vehicle
In the first step, you need to create a fixed asset account for a vehicle. Follow the procedure, ad creates it.
- First, open ‘Chart of Accounts’ from the QuickBooks, and select the ‘New’ option.
- Then go to the ‘Categories’ drop-down menu, there we will get an option for the ‘Fixed Asset’ option, just click on it.
- If in case, there is no fixed asset account available in the section then you can choose any closet account to continue.
- Provide a name, and an account description. You can name your account like Car, Van, and etc, and can name the sub-account as per your vehicle model.
- After that, go to the ‘Details Type’, and fill out the detail of the newly purchased vehicle.
Step 2: Enter the Purchased vehicle Information
You have created the fixed asset account or the vehicle, now follow the procedure to enter the complete detail of the purchased information or know how to record fixed asset purchases in QuickBooks.
- Choose ‘Yes’, if you want to track the depreciation of this vehicle.
- Now QuickBooks will automatically create a depreciation sub-account of the vehicle.
- Choose ‘No’, if you don’t want to track or record depreciation in QuickBooks of the vehicle.
- Then go to the ‘Original Cost’ field, and put the amount of the vehicle. (You can leave this field blank if you are recording a loan.)
- After filling out all things, click on the ‘Finish’ option.
Set Up a Vehicle Loan in QuickBooks
Here is the procedure to set up, and record a new vehicle loan in QuickBooks. This will be done in just 2 steps. Have a look;
Step 1: Create a Liability Account
First, you need to create a liability account, follow the below procedure to create a liability account:
- Go to the ‘Gear icon’ of QuickBooks, and select the ‘Chart of Accounts’ option.
- Then from the top-right corner, click the ‘New’ option.
- Now choose any one of the liabilities, ‘Other Current Liabilities (1 Year) option or ‘Long Term Liabilities (More than 1 Year).
- Select the detail type for the liability.
- Enter the name of the account, and choose a name which will help you to recognize the vehicle loan like the vehicle loan, bank name, and etc.
- Then leave the ‘Unpaid Amount’ field blank for now, and review everything.
- Lastly, click the ‘Save’ option.
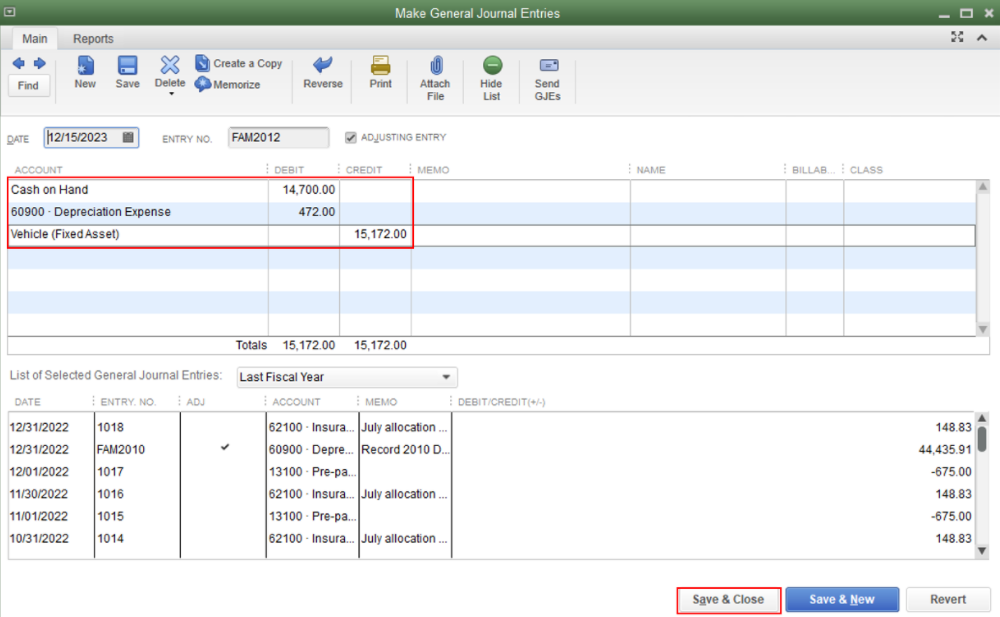
Step 2: Journal Entry for Vehicle Loan
Now in the second step, create a journal entry for vehicle loan:
- Click on the ‘+New’ option, and select the ‘Journal Entries’ option.
- Choose the liability account that you have already created from the ‘Account’ drop-down option.
- After that, go to the ‘Credit Field’, and enter the amount of the vehicle loan.
- Select the asset amount that you want to attach with the loan amount.
- In the next step, go to the ‘Debit’ field, and enter the loan amount.
At last, you can enter the depreciation by following the same above process, but just skip the step of choosing a depreciation account instead of a long-term liability account.
Other Recommended Articles:
How to Process Credit Card Payment in QuickBooks Online
How to Set Up and Create Projects in QuickBooks Online
How to Move or Reclassify Multiple Transactions in QuickBooks Online Accountant
Steps to Set Up a Vehicle List in QuickBooks
In the above, you have already got the idea that, how to record the vehicle purchase, now set up a vehicle list in QuickBooks. Follow the instructions, one by one:
- Go to the top menu bar, and go to the ‘List’ option.
- From there, choose the ‘Customer & Vendor Profile Lists’ option.
- Then click on the ‘Vehicle List’ option.
- Now you will be taken to the ‘Vehicle List Window’.
- From that Window, go to the ‘Vehicle’ drop-down menu, and select the ‘New’ option.
- Then click the ‘New Vehicle’ option
- Enter the name of the vehicle, that you want to track mileage in the ‘Vehicle’ field.
- Go to the ‘Description’ box, and enter the plate number or the ‘Vehicle Model’ number, or you can enter both in the description box.
- Detect the vehicle according to the manufacture’s year, and maker.
- You may need to put more detail if you have a fleet of vehicles.
- Save all the changes done by you, by clicking the ‘Ok’ option.
Record & Track Vehicle Mileage in QuickBooks
Now go for the procedure to track the mileage of the vehicle. And go through the procedure:
- Go to the top menu bar of the screen, and visit the ‘Company’ section.
- From there, select the ‘Enter Vehicle Mileage’ option
- Then go to the ‘Vehicle’ drop-down option, and select the one that you want to track mileage.
- Mention the starting, and ending date of the trip in their respective fields.
- Again you have to enter the mileage starting and end reading in the required field. There you need not put the total mileage of the trip. QuickBooks will automatically fill out the ‘Total Mileage’ field.
- Apart from that, there are many fields to fill out. We have described all of the fields in the sub-points, check all the sub-points, and get the idea that, what to fill, and how to fill.
- Billable Box: Mark on the box, if you want to create a bill for the miles.
- Customer: In the customer tab, go to the ‘Job’ field, and select the customer to whom you want to bill this mileage.
- Item: In this field, you can select the delivery option, mileage option and etc.
- Notes: In this section, you can write the purpose of the trip, and whatever you want.
- After filling out all the required fields, click on the ‘Save and Close’ option.
The End Line
This blog was about the QuickBooks vehicle purchase, we have discussed the procedure for setup, enter, and record a vehicle purchase in QuickBooks. We tried our best to simplify the procedures, which are given in the above. Hope you like it, and now you are able to manage the vehicle/car purchase in QuickBooks very well. Still, if you have any doubts regarding this topic, or need any expert help for the QuickBooks vehicle purchase then you can hire QuickBooks ProAdvisor for the best advice.
